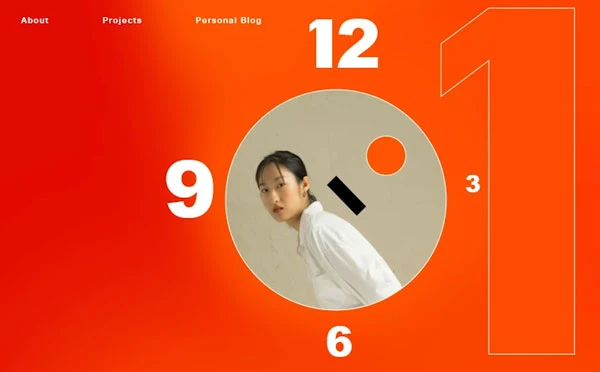
In the age of the Internet, job prospects and opportunities for building one's brand are just a few clicks away. So whether you are job-hunting and need to make a great first impression on potential employers or are just looking to brand yourself online, a personal website can be your best asset.
This article will help you learn how to create a website from scratch using the Ucraft Website Builder. After going through each step, you'll be more than halfway towards meeting your goal.
For brevity, we will assume you already have a clear goal for your website. As you know, it takes more than an hour to create a business plan and a branding manual, so this should be organized beforehand. Likewise, when you start building a website, keep your branding guidelines and mission statement/message close because they are the building blocks of your future online asset!
In short, here's how to create a personal website in under one hour:
-
Browse available website templates;
-
Select the best template that will showcase your personality/project;
-
Edit the template's default content and write your own;
-
Use personal images that will wow your website visitors;
-
Add your blog content;
-
Connect your domain;
-
Check your website’s mobile responsiveness;
-
Perform an SEO checkup;
-
Publish your website for everyone to see;
-
Start promoting your website.
Before you learn how to make a website with Ucraft in under one hour, let's start with the "why."
Why Should You Create a Personal Website?
So why do you need a personal website? The reason is a no-brainer. Not only will a website make it easier for people to get to know you and learn more about you, but it will also help you stand out from the masses (or a pile of resumes if you're a job seeker).
Whether you're a freelancer, an artist, or a blogger, there's no better way to share your professional story than by creating a personal web page that accurately reflects your skills and talents.
When you display everything you have achieved throughout your career and reference this by showcasing your best work, those who visit and stick around your corner of the Inter will perceive you as an expert in your field. In addition, by highlighting your accomplishments and promoting your expertise, you'll differentiate yourself and strengthen your online reputation.
7 Sections a Personal Website Needs to Make an Impact
Let’s skip forward for a second to mention the most essential website pages and sections your website should have. They will give you a better idea of what type of website template to choose. Moreover, you will have a clear picture of how your website will look in the end and what changes you should implement.
Once you start crafting your site using one of Ucraft's ready-made templates, the decision on how to organize its content is totally up to you. However, to save you time and help you build a website that suits your vision and needs, we'll go over the sections we think a personal website can't miss.
1. Homepage
The homepage is, most likely, the first thing your visitors will see. Perfect your homepage design skills by choosing a template with catchy color combinations and easy-to-read fonts across all devices. When it comes to personal websites, the homepage is usually a hybrid between a bio, a portfolio, a contact form, etc. Most creators decide to display their work from the get-go, while freelancers start with their most significant accomplishments and projects.

How you display such content on your homepage is also up to you. For example, some job seekers integrate animations on their homepage to attract potential employers (animated resumes are all the rage right now). Meanwhile, artists, photographers, or consultants display an appealing presentation video of their skills, works, project simulations, etc.
No matter how you choose to tweak your template, make sure that anyone who lands on this page for the first time learns the following (preferably in two and a half seconds or less):
-
Who you are (a well-chosen personal photo is always nice);
-
What you do;
-
How you could be of help to them;
-
Compelling calls-to-action, prompting users to visit other sections of your website, buy your products or contact you, etc.
Besides the eye-catching design of your homepage (already coming with your template), you need to convey a clear mission statement.
2. About Me
Even if you have a short bio on the homepage, the "About Me" section should contain more than your name, picture, and work experience/skills.
This section is fairly self-explanatory. However, since we are talking about your personal website, it's only logical to include a separate "About Me" section and introduce yourself to online audiences. Of course, even though you need to add a summary of your career background, you should also allow your visitors to get to know the person behind the professional. Consider this page or section the building block of future brand building and business storytelling.
Your skills matter, but so do the things that make you who you are. With that being said, make sure you also talk about your hobbies, interests, and passions and let your personality shine through this well-crafted page.
3. Portfolio
Remember the good old "Show, don't tell" technique? Well, this classic writing rule also applies to your portfolio, especially if you are an artist. You know you're talented, but your visitors aren't going to take your word for it.
To convince them of your talent and expertise, you need to provide examples of your work and make them easily accessible. If you ever find yourself in need of an expert touch for your portfolio, don’t hesitate to hire a professional from Ulab. Here is where a portfolio comes in handy. Take full advantage of this section and showcase your best work. If you can make your portfolio interactive, don't hesitate! The more people engage with your website, the more chances you have of finding a better job, selling your creations, or connecting with your industry's stakeholders.
If your website also prompts users to contact you for freelance projects, make sure they can get in touch with you easily via a form or an email.
Moreover, independent artists also create portfolio sections to sell their work (digital art, paintings, books, music, etc.), so choosing an eCommerce website template with all the trimmings might be good.
For more inspiration, we recommend you browse these amazing artists' portfolio websites to see how professionals do it!
A personal website can be many things: from a photography portfolio to a fully-fledged music website to attract new fans, keep the old ones engaged, make announcements, showcase your latest work, and allow labels to discover you, among all others. For this reason, before you begin designing your website, check out this guide, so you don't miss anything important!
4. Resume
Think of this section as the centerpiece of your website, especially if you are displaying work experience and project samples. Consider investing considerable time and energy into putting together an effective resume. Ensure you highlight relevant education & work experience and include side projects and volunteer work as well.
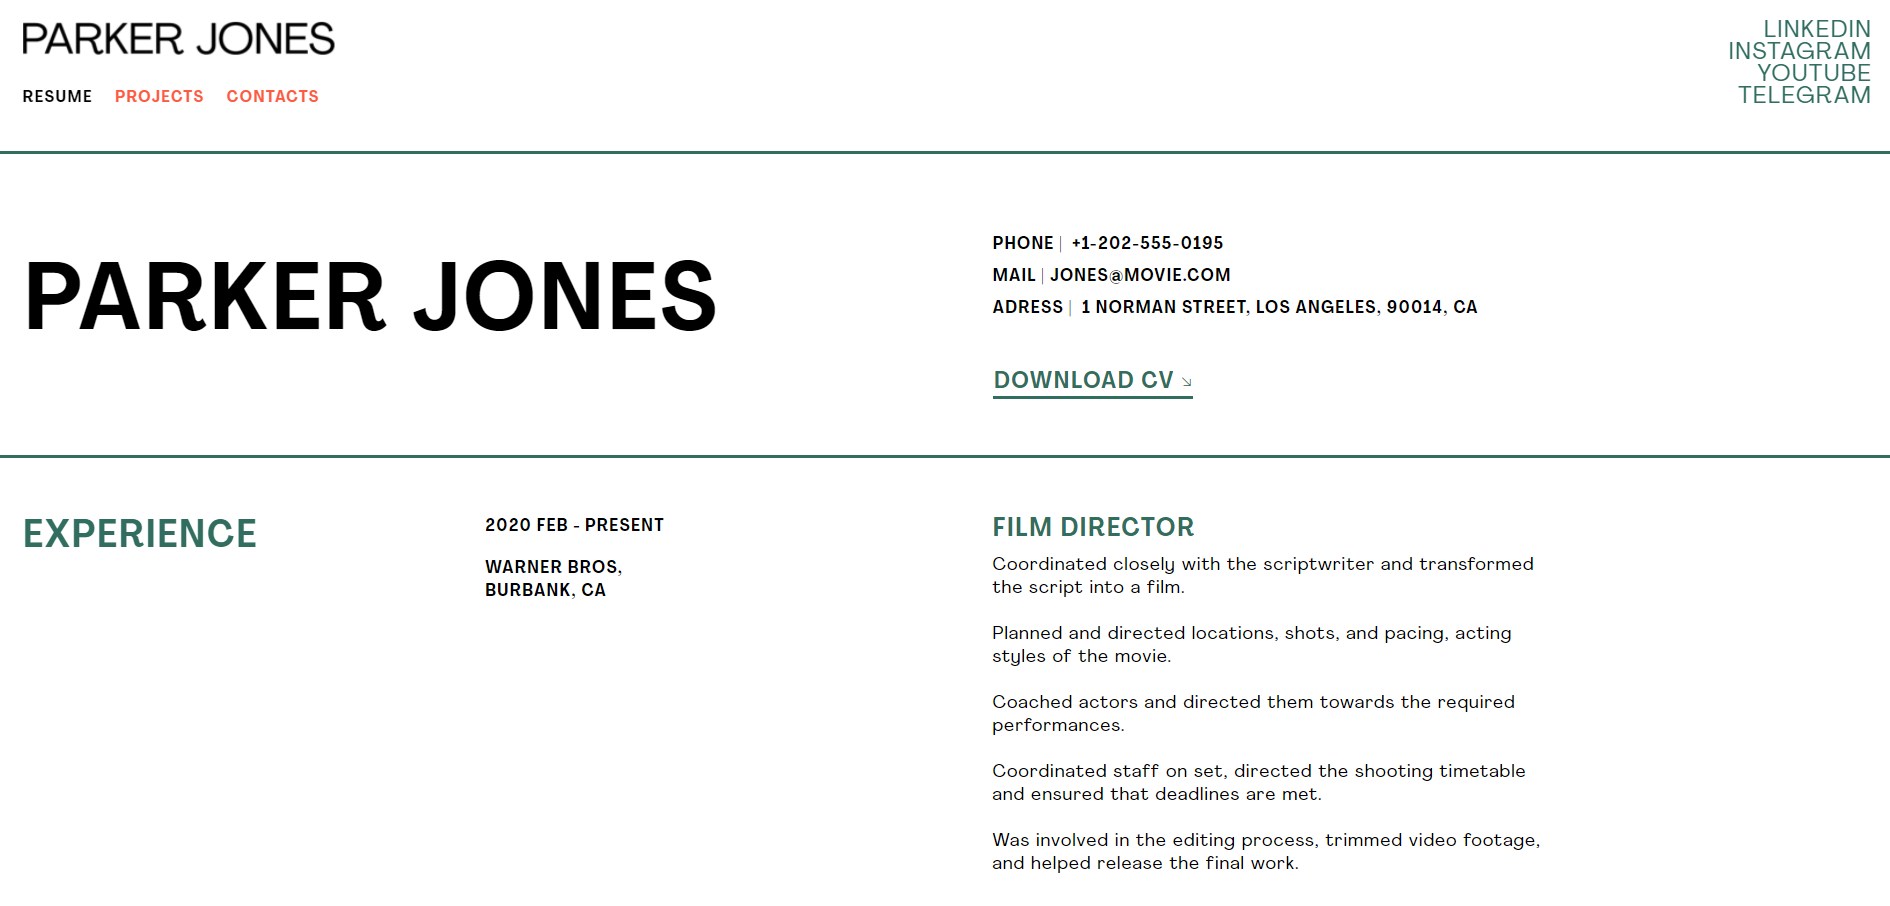
In addition, you should present your career path with a timeline that starts with your most recent position, and don't forget to paint a picture of your work history by providing short descriptions of your previous jobs, responsibilities, and accomplishments. With the portfolio mentioned above, your professional details can land you an interview without even applying for a job.
5. Blog
You can take your website to the next level by adding a blog to it. Not only does a blog help you gain exposure, but it also enables you to demonstrate the knowledge and skills you've acquired throughout your career. If you, for example, share valuable tips & tricks, tutorials, or case studies, you will show you are serious. In other words, you know what you are talking about enough to present yourself as an expert in your niche, whether it is marketing, photography, IT, music, literature, etc.
6. Testimonials
Another great way to gain credibility is to use endorsements/online reviews and feature them on your website. Testimonials from real people prove your competence, which is why they play a vital role in establishing your brand. The power of word of mouth is undeniable, so make sure you reach out to everyone you've worked with and ask for their written recommendation. Social proofs work like no other in establishing a personal brand and gaining your community's trust.
7. Contact Info
You have to make it easy for potential clients/employers to contact you. After all, isn't that the end goal? All you need to do to ensure people can get in touch with you is add an online contact form, an email, a phone number, and even an address. Also, don't forget to connect your social media networks to your website.
How to Create a Personal Website with Ucraft
Now that you are about to set off on a quest to find the best way to present yourself to the world, let the Ucraft website builder be your ally and help you build your website without writing a single line of code. The first thing you need to do is go to the homepage and click the "Try For Free" button.

Choose a Website Template
To begin crafting the perfect online presence, browse for personal website templates and pick the one you like best (that also meets your needs).
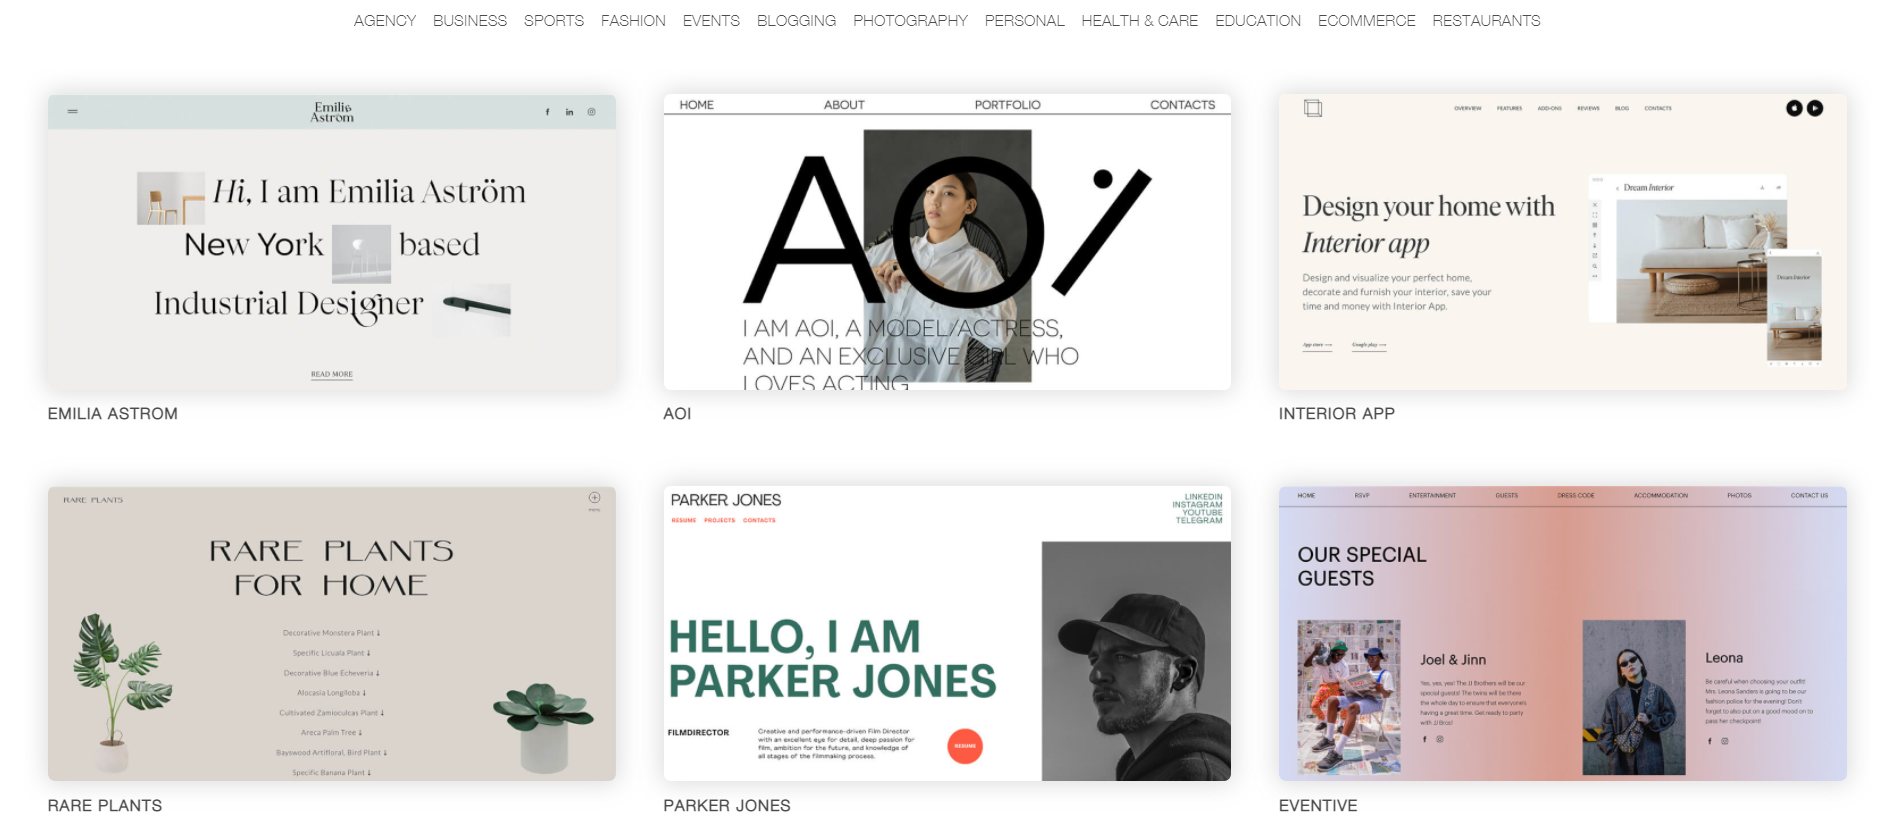
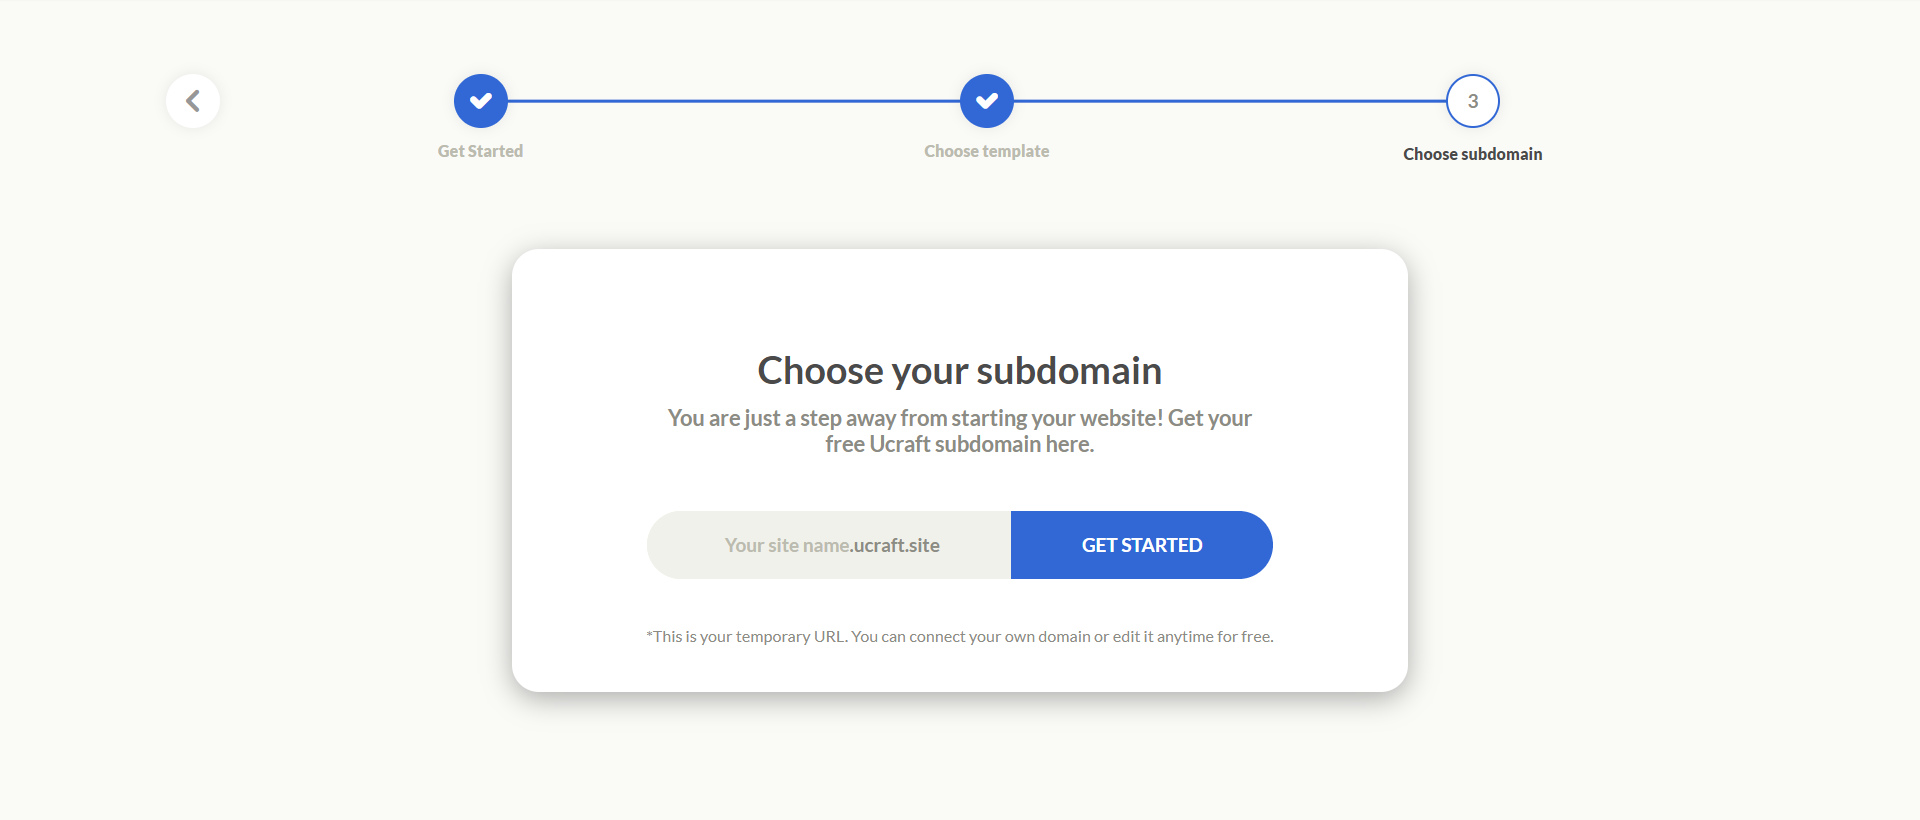
Once you have chosen a template, it is time to decide on your website name. Take a second to think about this one. Since your website name is your identity/brand on the Internet, we recommend you go with your full name (or the brand name of your choice, i.e., your music band's name or your pen name). Once you have decided, enter your name, and you'll immediately get a free ucraft.site subdomain. Next, hit "Get Started," and you're all set to build your site.
Register with Ucraft
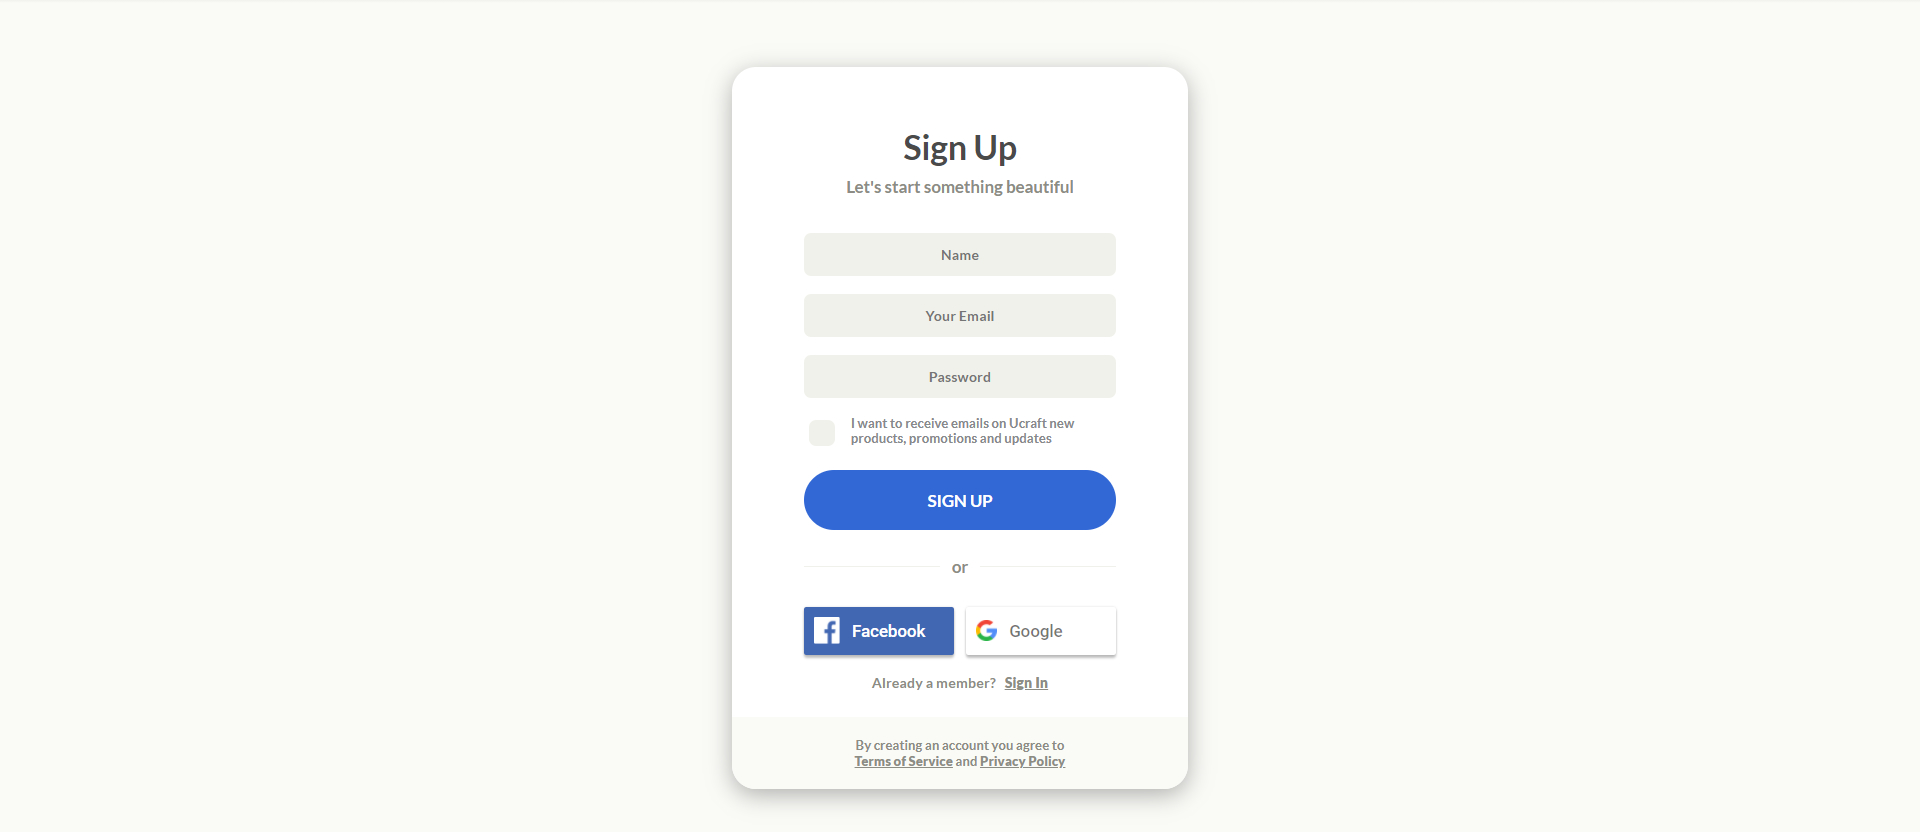
The registration process is up next. You can sign up with either your Facebook or Google + account. Of course, if you don't want to use these social networks, you can enter your email and choose a password to create an account.
Tweak and Customize Your Template
Now it's time to get down to business and create your website. When you access the Ucraft Builder, you'll be able to customize every single element to suit your needs. To demonstrate, we'll start with the header. Please move your mouse to this block and click on it to access its settings.
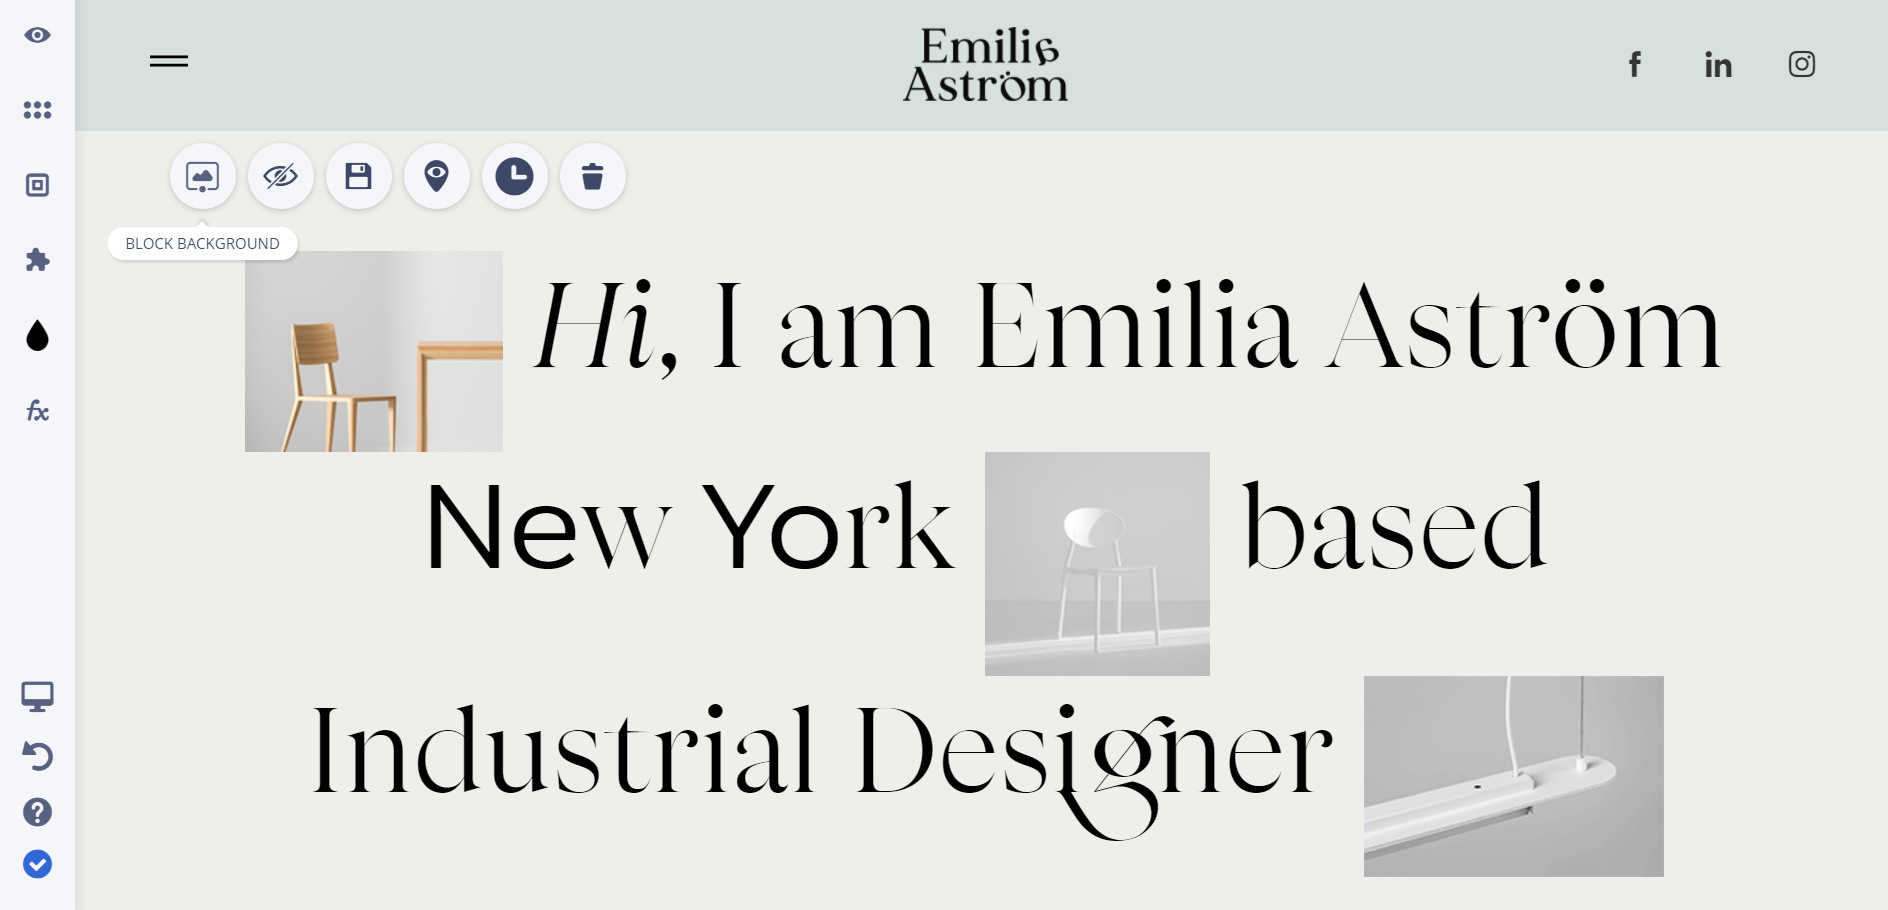
From here, you can select the option to edit, hide, delete this block or change its background.
-
If you want to change your background, go to Background settings and click the X button in the upper-right corner of the current image. You can either browse files from your computer or open media to access free stock photos provided by Unsplash. Take advantage of the latter option and choose the best images for your website.
-
Keep in mind that Ucraft also has a terrific collaboration with Canva, so use this resource too to enjoy endless stunning imagery and graphics.
-
If you still don't find what you are looking for, check out this guide on the best stock photo websites to use when building your website!
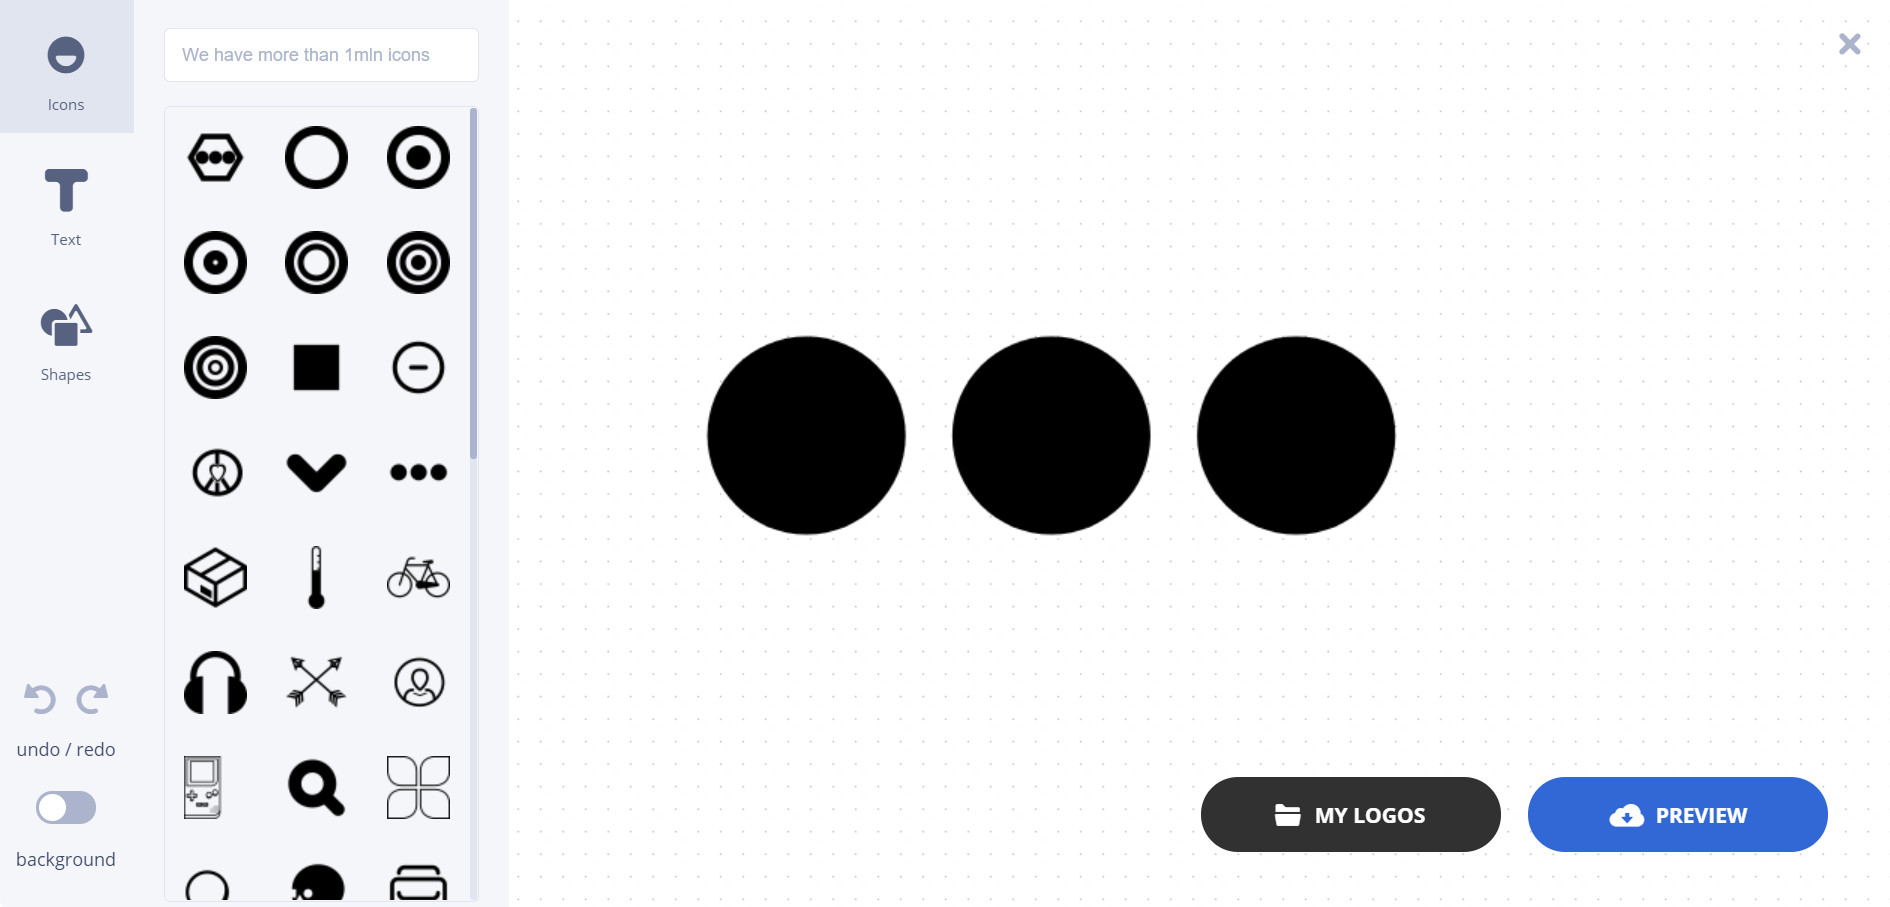
The power of visual symbols is undeniable, so you should add a logo to your personal website to kick it up a notch. Just click on the logo area to enter its settings, and you'll be able to remove the logo, upload the one you have, or create a brand new one. Of course, if you decide to design your logo from scratch, the Ucraft Logo Maker and its free icons will come in handy.
Edit and Add Content
You can also edit the existing content and write your own. To access text-formatting options, double-tap any text region.
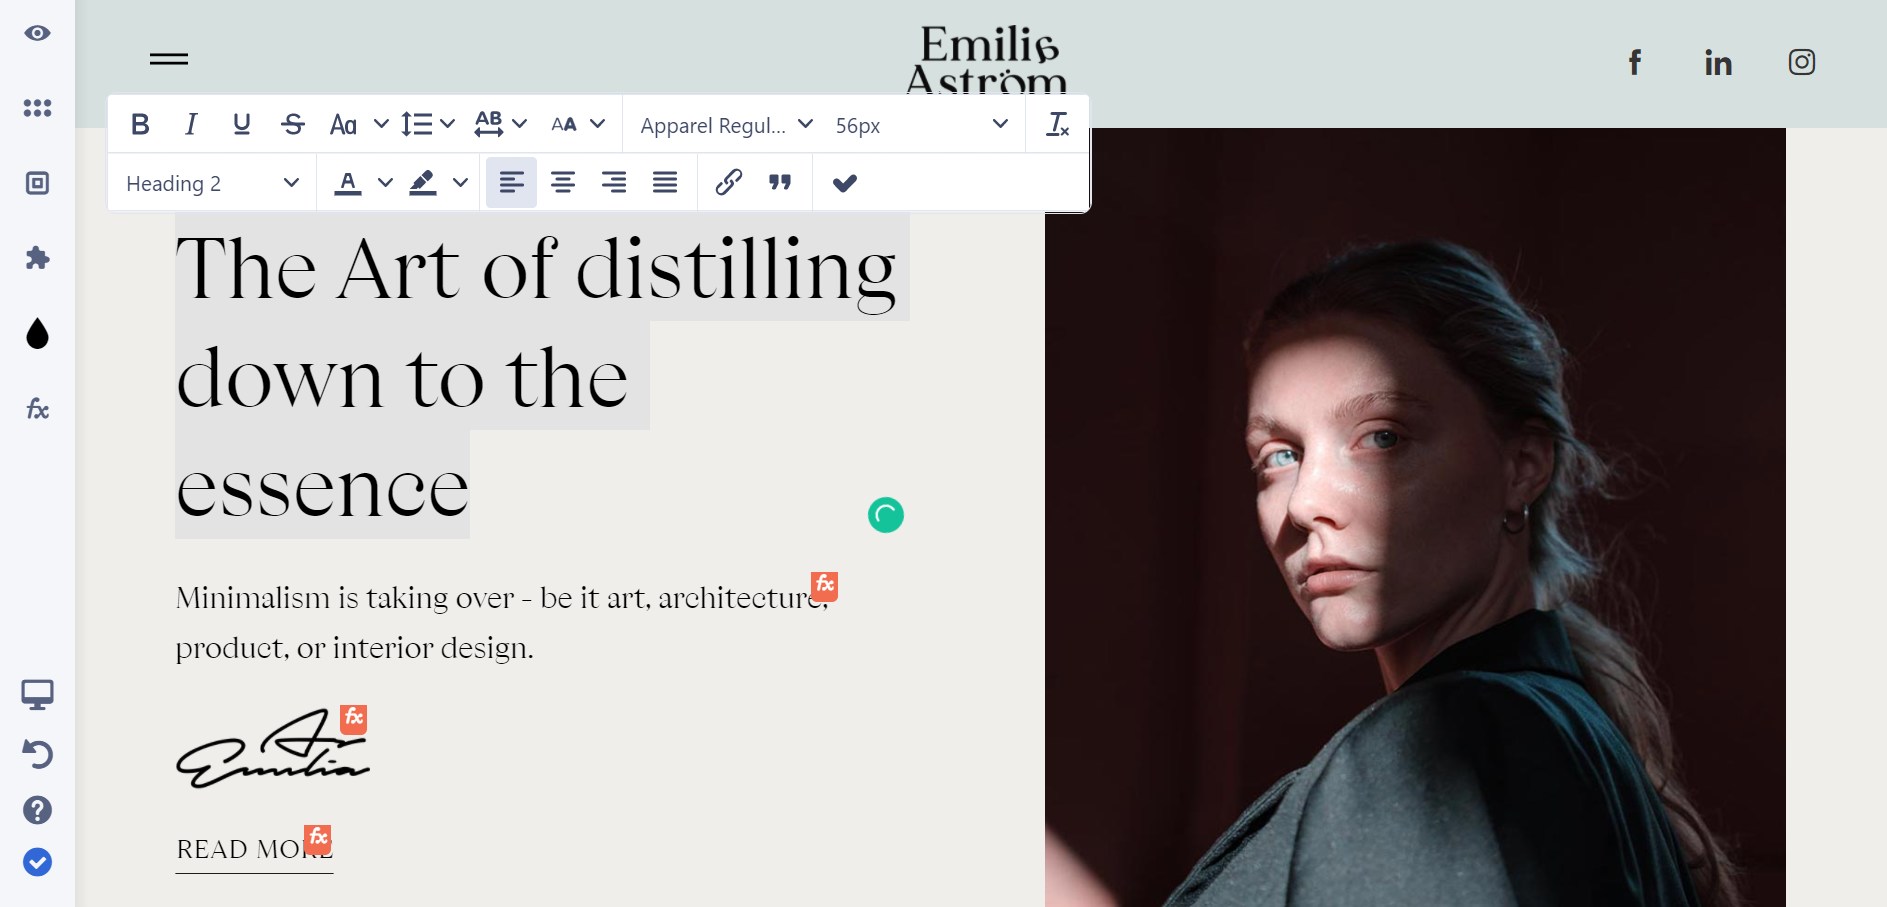
You can change the size, style, and color of your text. Moreover, you can also make the text bold, underlined, strikethrough or italic.
We have already established that your website won't be complete without the Experience/Portfolio section. The template we have chosen allows you to outline your background effectively. Then, to edit and fill out your work history and achievements, click on the relevant text.
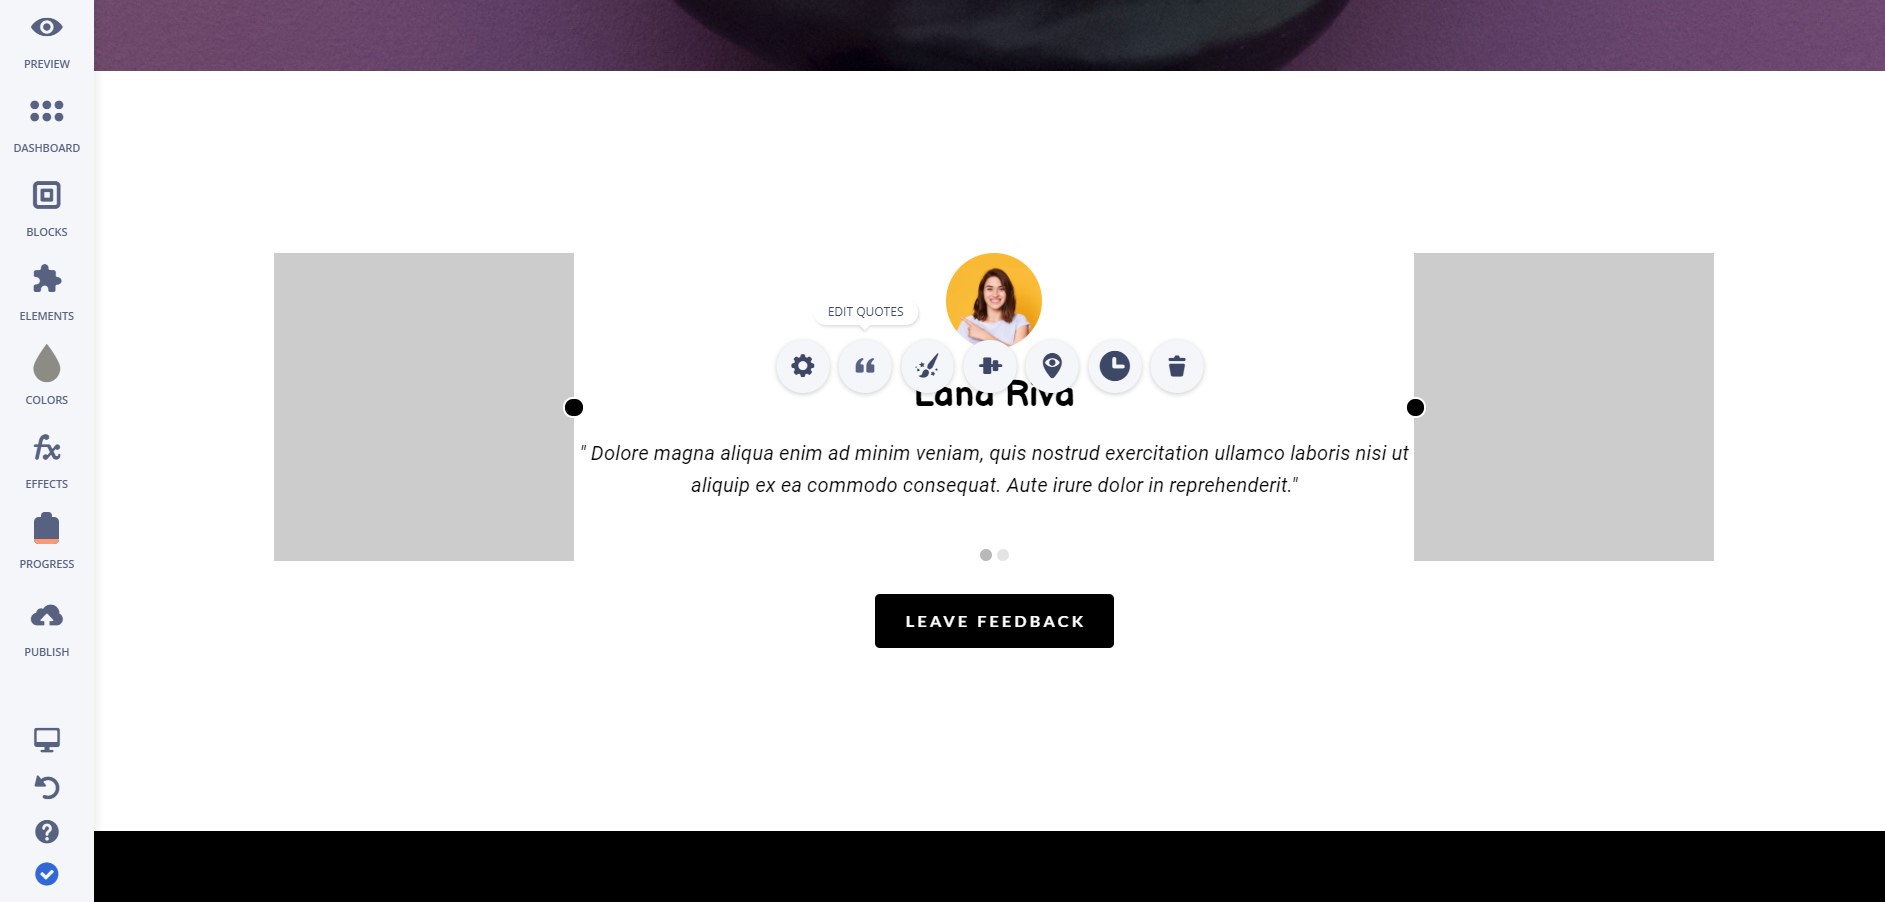
Since testimonials are equally important for a personal website, you should make the most of this section. In addition, you can add testimonials from former employers/clients by clicking on the quotation marks. You can edit all quotes, add more of them, and set photos for the testimonial authors.
Add a Contact Form
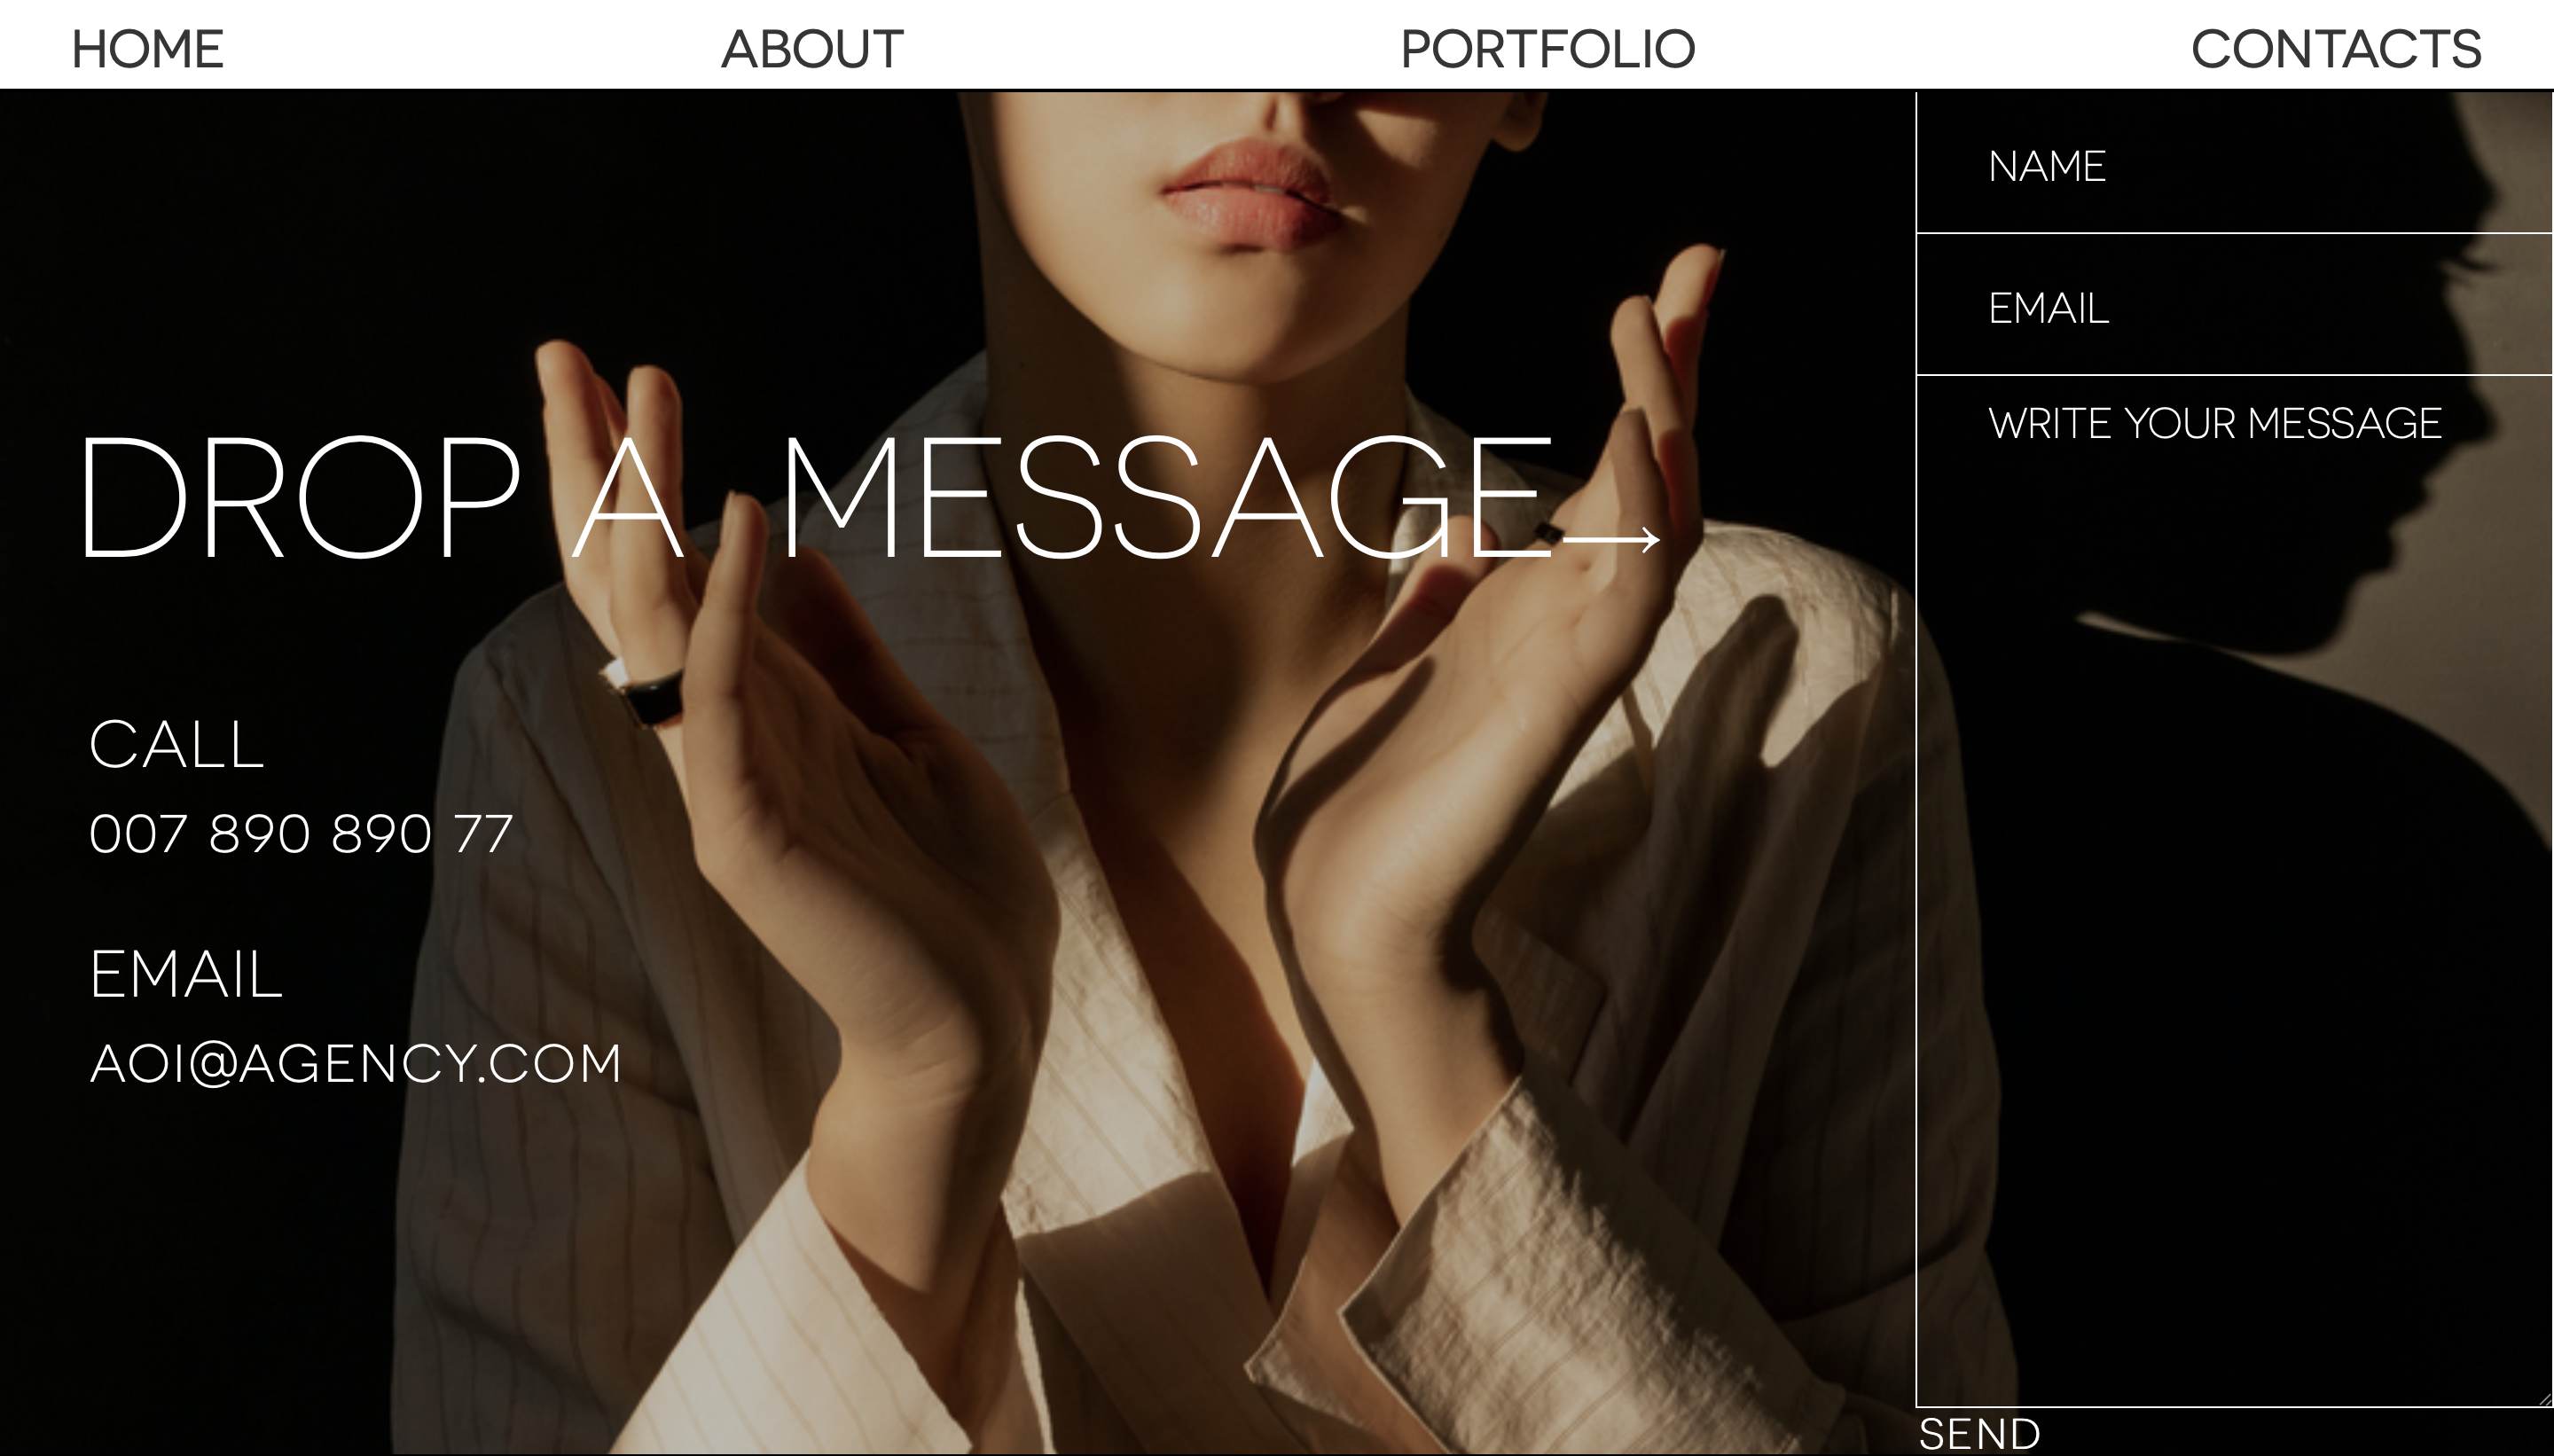
Finally, don't forget the Contact form. Click on it to edit its fields and customize the message shown after someone successfully submits the form.
Not only can you add and edit the Contact form, but you can also add your phone number, address, and email. By doing this, you'll make it easier for people to contact you.
-
Tap the Progress Bar to view your completed actions and check what further steps you need to take to build your website and publish it.
-
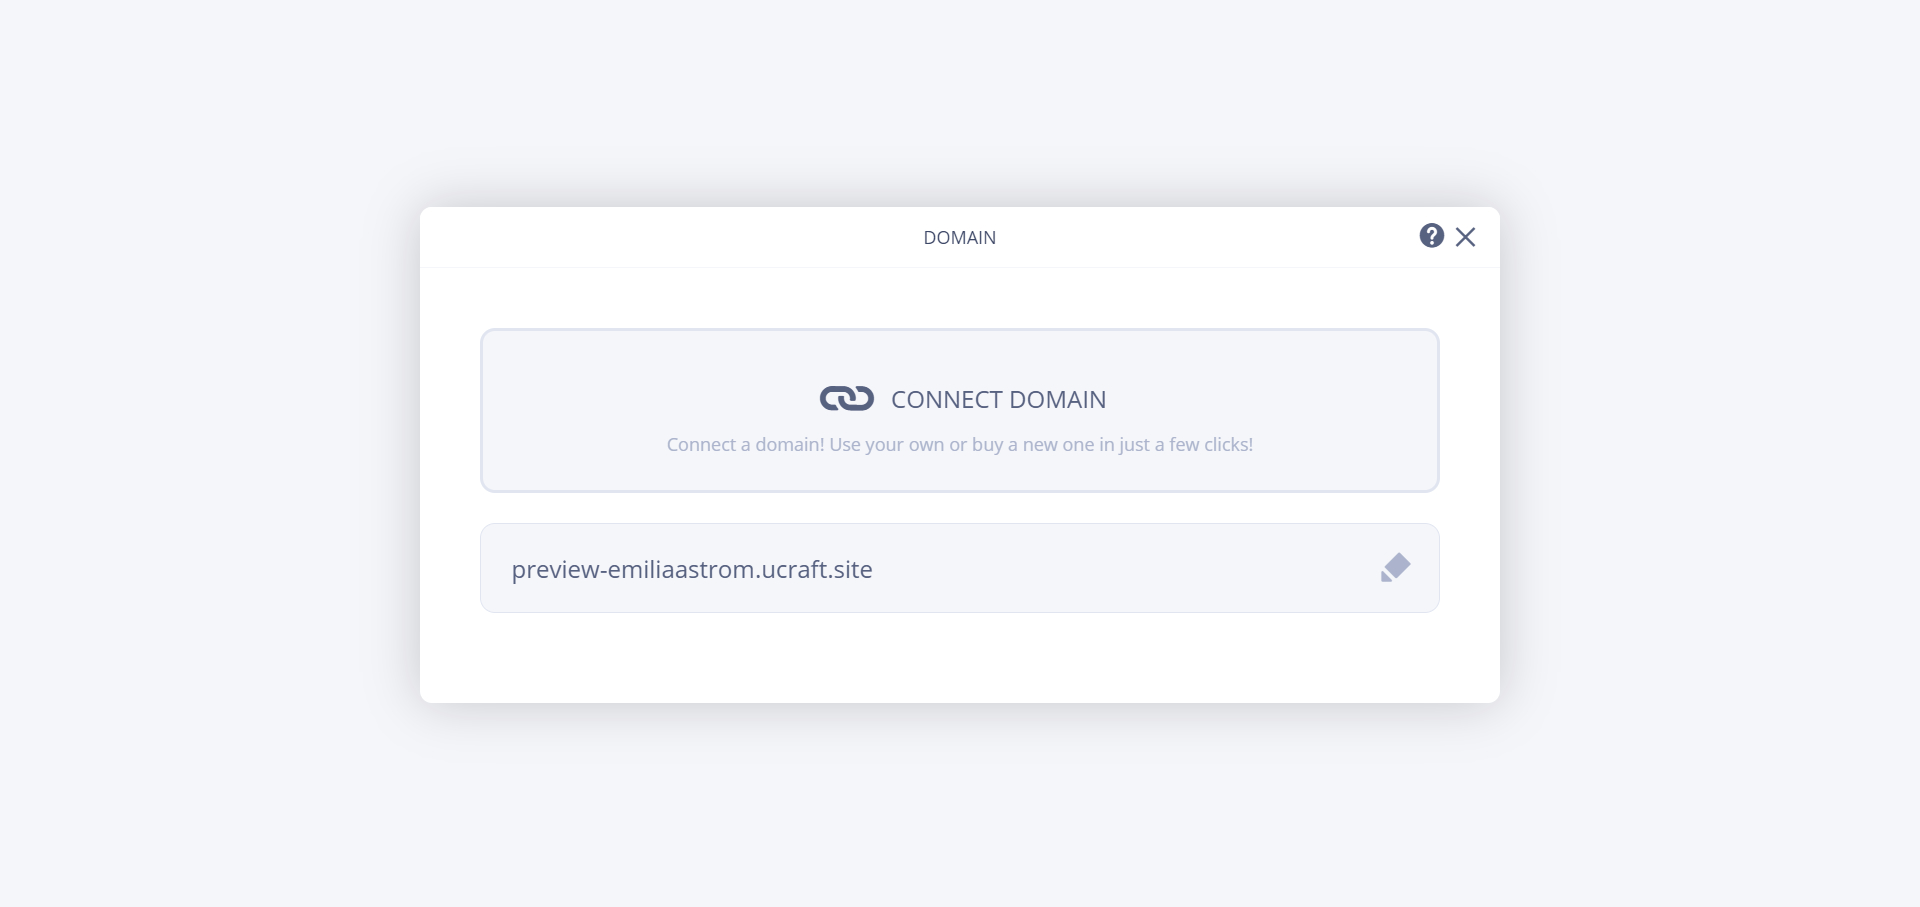
If you already have a domain name, you can connect it to your Ucraft website for free! To do this, go to your Dashboard and select the Domain icon. If you don't have a domain, you can purchase it straight from our Domain Manager.
Final Touch-Ups Before Publishing Your Personal Website
As we initially said, you should not let your website go live without a few final touch-ups. Let’s go through them below:
-
Your website's mobile-friendliness. All Ucraft templates are mobile responsive, following all UI/UX web design principles to a tee. However, before you congratulate yourself on a job well done, read this best practices guide and make sure your website checks all the boxes. It would be a shame to lose traffic or miss some opportunities because you did not give this crucial aspect five more minutes of your time.
-
As SEO rules go, the Ucraft website builder offers integrated SEO tools so you can optimize your content (pages and blog posts) to give your website the chance to gain visibility in the search engines.
-
Speaking of search engines, make sure that after you upload your content (images, videos, texts, template tweaks, etc.), your website still complies with the Core Web Vitals provisions and high-performance principles.
-
We recommend you wholeheartedly check out all our website integrations. For example, you might want a chatbot to entertain your guests while browsing through your portfolio or an email marketing tool to keep your fans close to your upcoming projects. We're not even discussing the importance of having website analytics and reporting tools working flawlessly in the background.
When everything is in place and works smoothly, you can allow your website to go live and gain traffic and followers. As website promotion goes, build a loyal following, make the most of social media, and even use some free website promotion resources for brands and businesses!
Now that you know how to create a personal website, it's time to get your creative juices flowing and build your own. While you are waiting for inspiration to strike you, make sure you check out these beautiful websites created by our community.
Happy crafting!

